How To Install Windows 10 Using Etcher
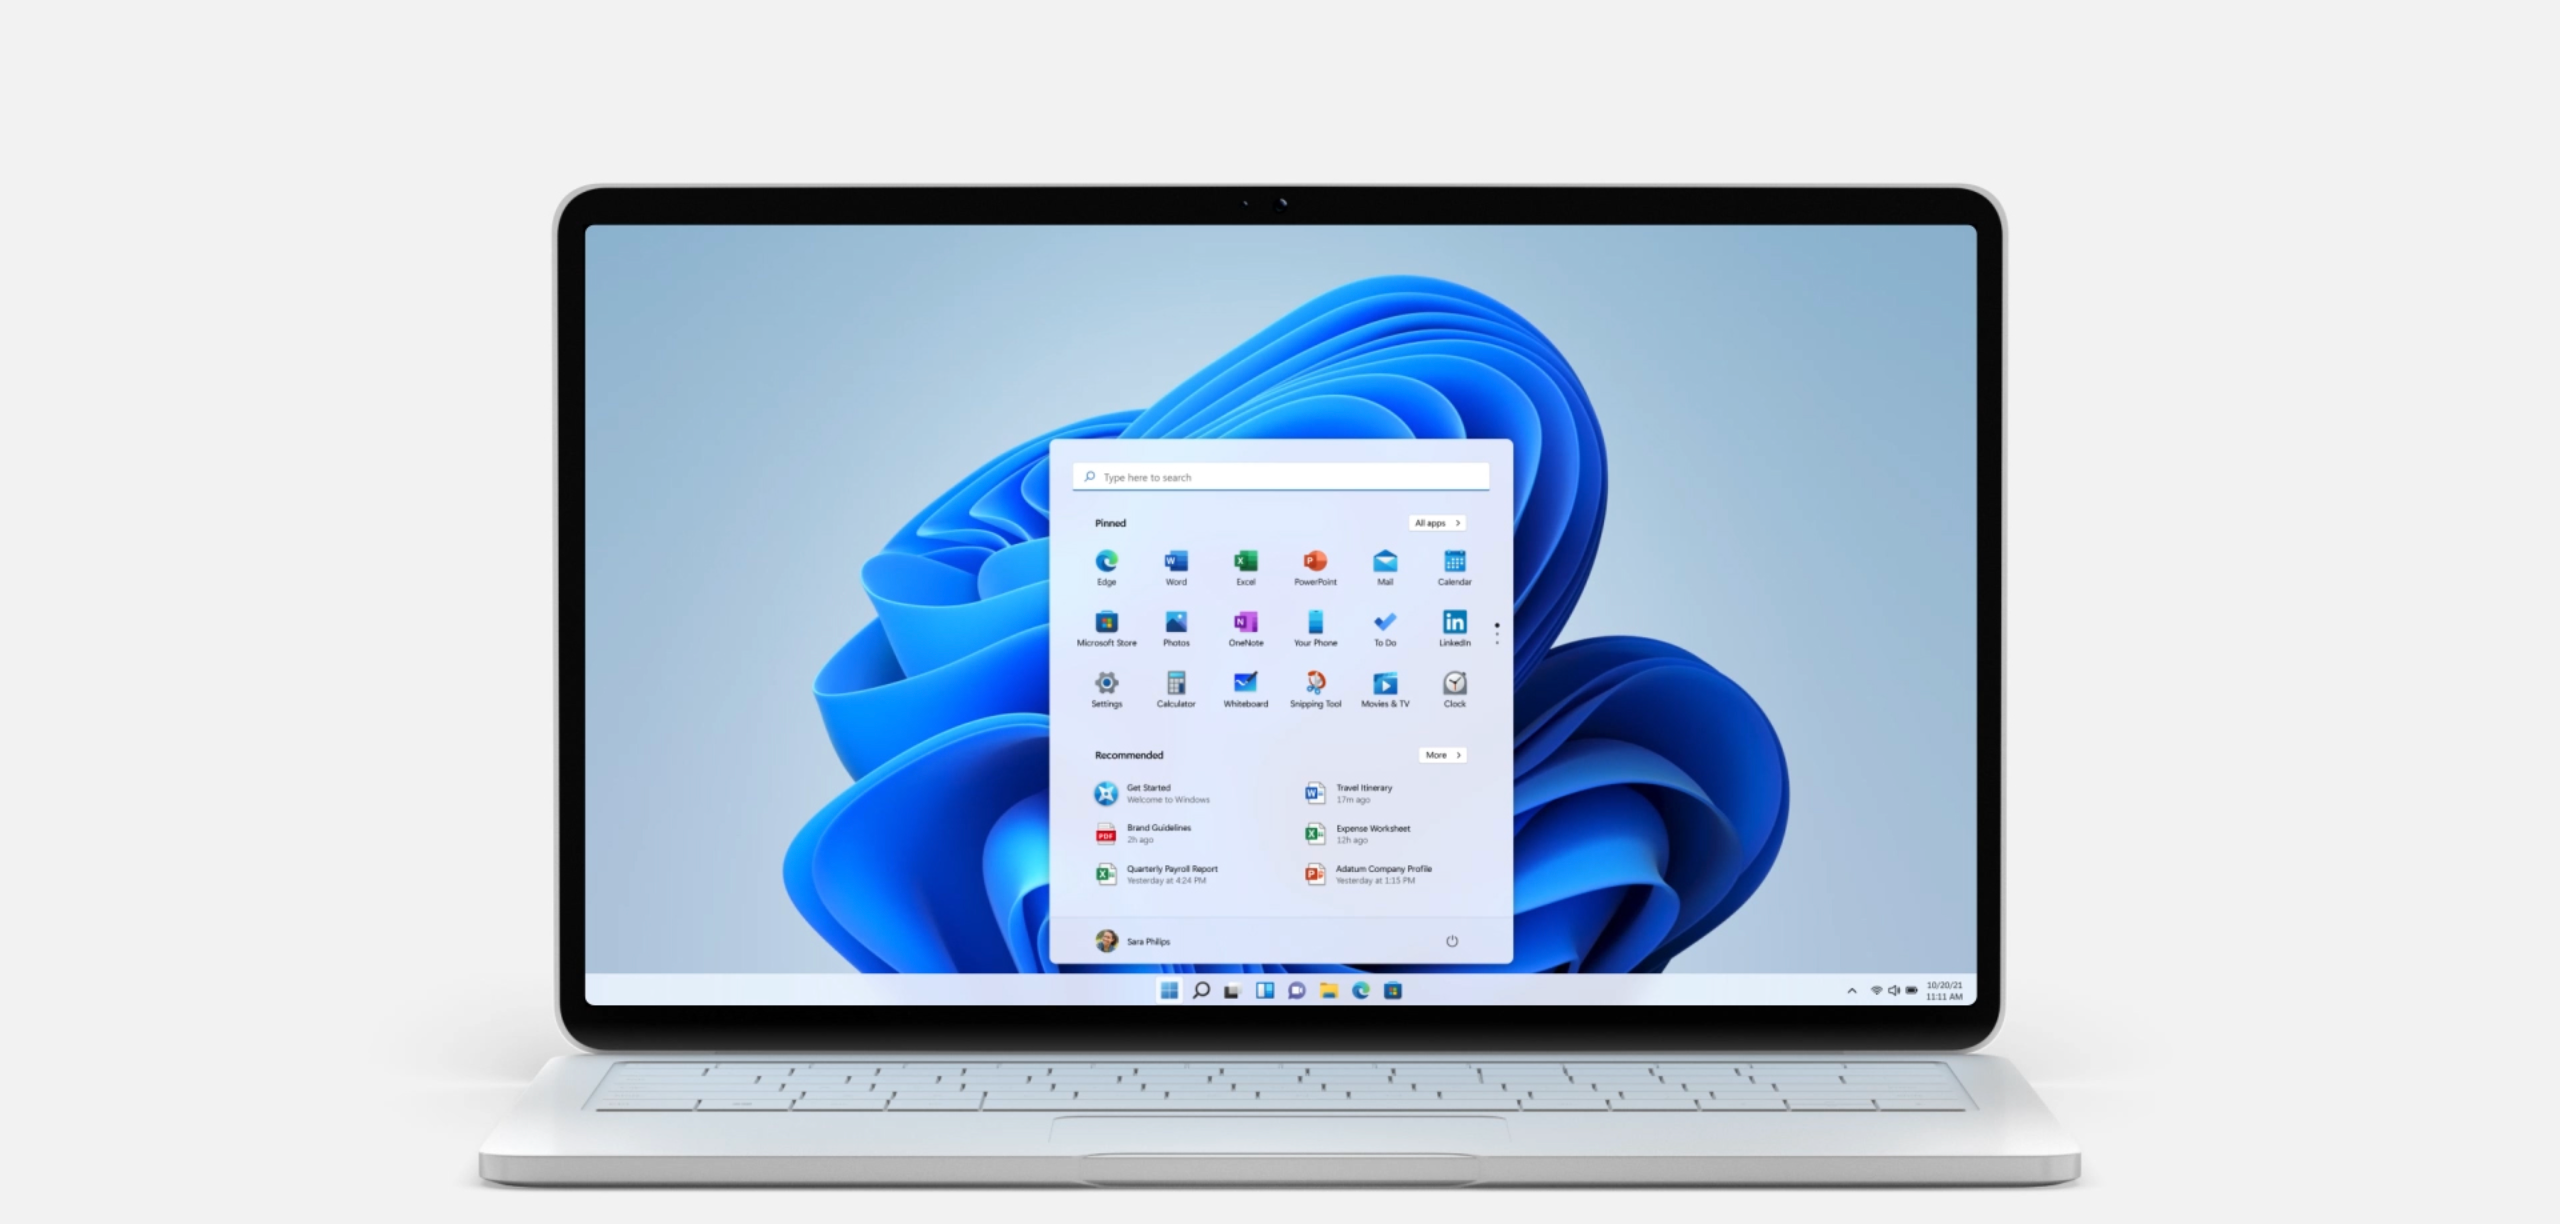
Windows 11 is the latest Operating System from Microsoft. It was released on October 5, 2021. Windows 11 introduces a host of new features, including the return of the Start Menu, new ways to interact with your devices, and a whole new browser called Microsoft Edge.
Windows 11 is available as a free upgrade for all Windows 10 and Windows 8 users. If you’re running an older version of Windows, such as XP or Vista, you can still upgrade, but you’ll have to purchase a license.
This tutorial will show you how to install Windows 10 on your PC.
- First, make sure that your computer meets the system requirements for Windows 10. To take advantage of these new features and keep your device running smoothly, your computer will need to meet the following requirements:
– Processor: 1 gigahertz (GHz) or faster
– RAM: 2 gigabyte (GB) for 32-bit or 2 GB for 64-bit
– Free hard disk space: 16 GB for 32-bit OS 20 GB for 64-bit OS
– Graphics card: DirectX 11 - Next, download the Windows 11 installation files.
- Once the files have been downloaded, create a bootable USB drive or DVD. You can use Etcher for this task. Etcher is a free, open source software for Windows, macOS, and Linux that enables you to burn images to SD cards, USB flash drives, or DVDs. It is a very simple program to use.
To create a bootable USB drive or DVD with Etcher, you will need: An image of the operating system you want to install A USB drive or DVD. After that you can follow the following instructions to create your installation media.
– Open Etcher and select the image you want to burn.
– Select the USB drive or DVD you want to use.
– Click “Flash!” to start burning the image.
- Finally, install Windows 11 on your computer.
After following the steps above, your computer should now be successfully upgraded to Windows 11. Congratulations! You can now enjoy all the new features and improvements that come with this latest version of Windows.
There are some important post-installation steps that you must take in order to ensure a smooth and problem-free Windows 11 experience. These include:
- Installing all Windows Updates.
- Activating Windows 11.
- Setting up a Microsoft Account.
- Configuring your Privacy Settings.
- Downloading and installing the necessary drivers and software.
- Adjusting your settings and preferences.
Conclusion
Windows 11 is a great operating system, but it has its share of disadvantages. One is that it’s very resource-intensive, so it can slow down older machines. Another is that it’s not always very stable, and can crash or freeze. Finally, some people find the new user interface to be confusing or cluttered.
Despite these disadvantages, Windows 11 is still a great operating system. It has many features that users find useful, such as the virtual assistant Cortana, the new browser Microsoft Edge, and the ability to run different versions of Windows on the same machine. And for businesses, Windows 11 offers many advantages, such as improved security and the ability to manage devices remotely.